|
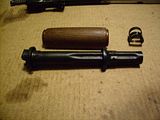
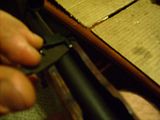
Now we're going to remove the handguards from the rifle. Push the upper handguard locking lever upwards until it is vertical. Adding a dab of oil to the locking lever will make the process easier. If the locking lever is under a lot of pressure, lube it and gently tab it with a rubber mallet, taking care as to not mar the finish.
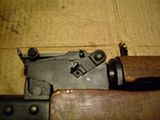

Take extreme caution when dealing with the upper handguard. The wood is extremely thin and it will crack or break if you apply too much force to it. The upper handguard on the WASR-10 I'm using in this tutorial was cracked when I bought it about six years ago. I have managed not to completely break it as of yet. If you have a synthetic handguard then you don't have anything to worry about.
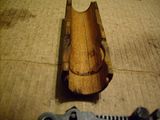
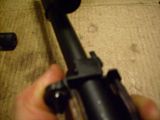
We will now move on to seperating the upper handguard from the gas tube. Grip the gas tube in your left hand the the upper handguard in your right. Gently, but firmly rotate the gas tube clockwise 180 degrees. You can now gently remove the upper handguard and pressure ring from the gas tube.
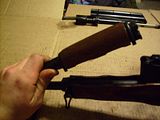
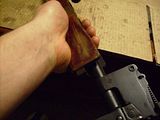
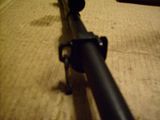
With the upper handguard completely removed and disassembled, let's switch gears and remove the lower handguard. Manipulate the lower handguard retaining latch 180 degrees. If it is stiff, apply a dab of oil. The multi-purpose screwdriver tool that comes in the buttstock cleaning kit can be placed under the lever if you need more leverage. When manipulating stiff parts, lubricate and then apply firm and gradual pressure until the tension is relieved.
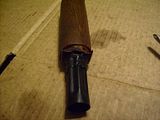
Once the retaining lever has been released, you can pull the lower handguard away from the receiver. After the lower handguard has been removed, I usually lock the lower handguard retainer in place on the barrel to prevent it from sliding around. Simply slide the retainer onto its slot on the barrel and rotate the locking lever back to the locked position.
Now that you've successfully removed the hanguards from the rifle, let's move on to the pistol grip and buttstock.
Continue Disassembly
|


